How do I import to Paperless from Image Capture?
It is possible to import directly to Paperless from Image Capture, an application included with Mac OS X.
This article provides some background on Image Capture and how to import directly to Paperless from it
What is Image Capture?
Image Capture is a program, bundled with Mac OS, that make it possible to import certain multimedia files (image- and movie files) from connected scanners and mobile devices to your Mac. If, for example:
- you take pictures with your iPod, iPhone, or iPad, or
- you have a scanner that you use with your Mac,
...you will likely be able to import images from these devices to your Mac with Image Capture. Image Capture looks and functions much the same way that many scanner applications do, allowing you to configure scan jobs and press a button to begin scanning.
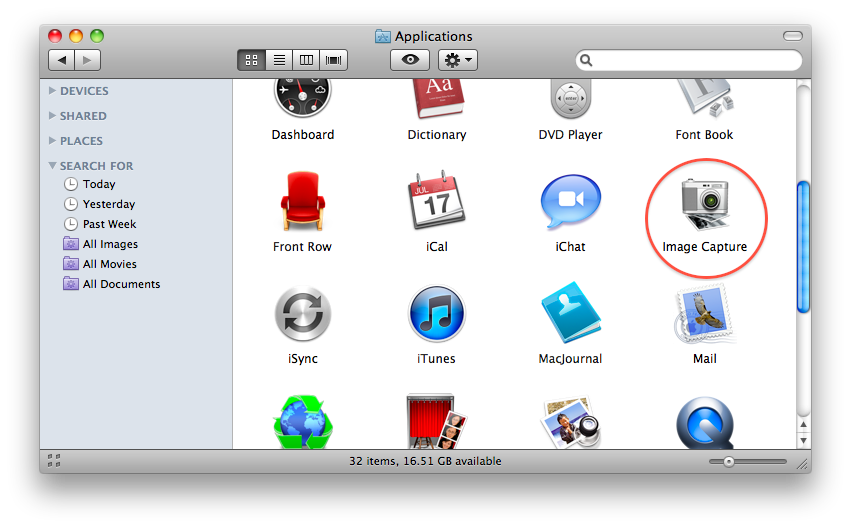
By default, Image Capture is located in your Mac's Applications folder:
You should also be able to launch Image Capture using Spotlight: search for Image Capture with Spotlight, and select Image Capture from the search results to launch it.
What is the difference between the Image Capture application and Use Image Capture in Paperless?
The Image Capture standalone application is an application you can use on its own (for example, you can use it independently of Paperless), developed by Apple, for the purpose of importing images to your Mac.
The Use Image Capture option in Paperless uses a specific OS X framework in called ImageKit. ImageKit works much like Image Capture, and will provide an interface (windows, buttons, and other elements) very-similar to Image Capture.
Why can't I use the Scan/ Scan Multi button (or some other function in Paperless) to begin scanning with Image Capture?
How do I import to Paperless from Image Capture?
To import directly to Paperless using Image Capture, follow these steps:
- Make sure Paperless is open and that the library you would like to import to is the topmost window in Paperless.
- Launch Image Capture:
- Use Finder or the Dock.
- Perform a Spotlight search for Image Capture, then select Image Capture in the Spotlight search results.
- In Image Capture, using the pane on the left-hand side of the main window, select the device that you would like to import from.
- Locate the Scan To: selector in the Image Capture window. It may appear in one of two different places:
- By default, it will display in the frame at the bottom of the Image Capture window, towards the left-hand side of the window.
- If you have directed Image Capture to Show Details, the Scan To: selector should display in the Details pane, on the right-hand side of the window.
- Click the Scan To... selector and select Other...
- In the file browser that appears, locate and select the application file for Paperless. By default, it is located in your Mac's Applications folder.
- Import documents from your scanner or device to your Mac as normal:
- To import from your scanner, configure your scan and click Scan.
- to import from your iPod, iPhone, or iPad, select the image(s) you would like to import (you can select more than one image by holding either the command- or shift keys and clicking on the additional items in the center pane) and choose Import to import the selected images to Paperless. Please note that choosing Import All can potentially result in delays and unresponsiveness from either Image Capture, Paperless, or your Mac.
The resulting imports should be directed to (and should show up in) the topmost currently-open Paperless library window.